Why a Move-In Walkthrough Is Non-Negotiable
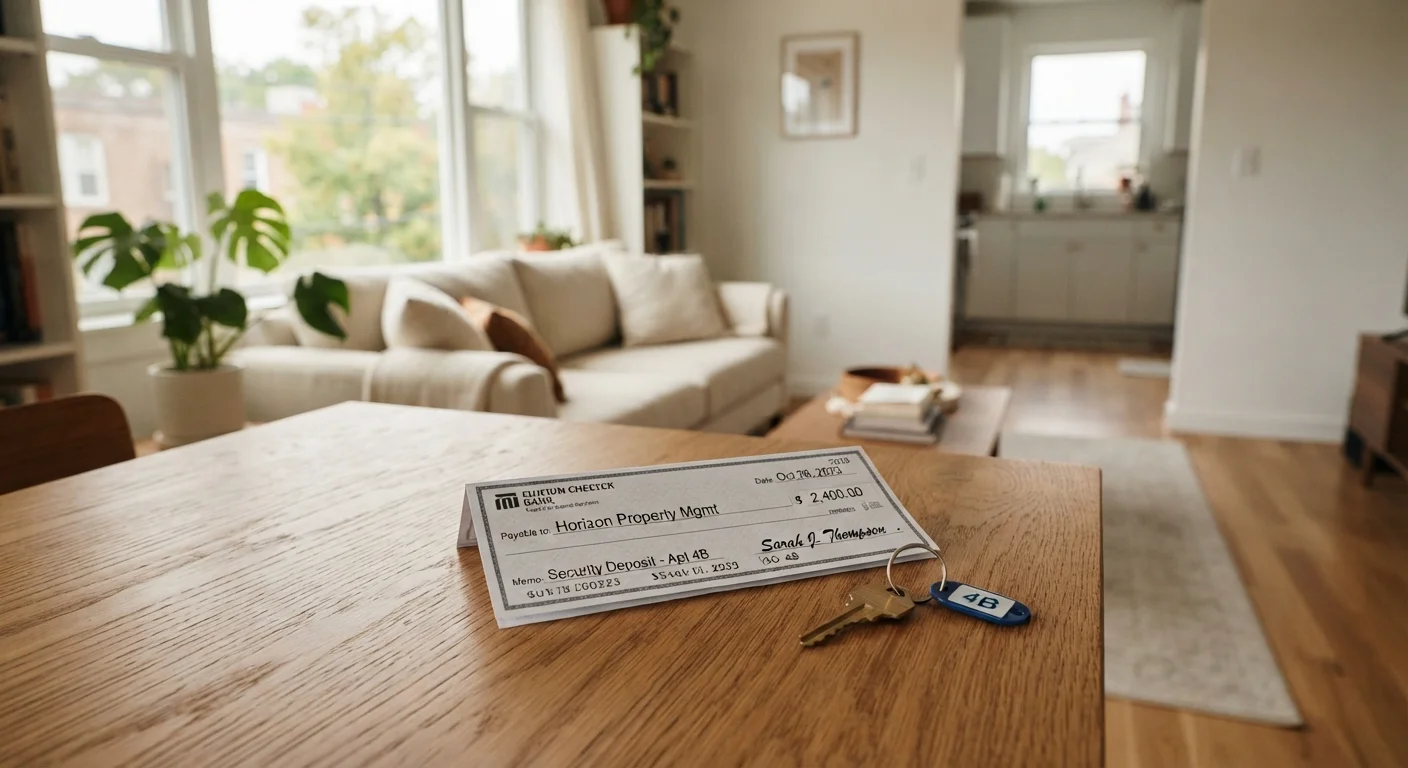
The day you pick up your keys may feel like the end of a stressful process, but it is actually the beginning of one of the most important steps in your tenancy: the move-in inspection. What you document - or fail to document - in the first few hours can directly determine how much of your security deposit you get back when you eventually leave.
Landlords are generally permitted to deduct from a security deposit only for damage that goes beyond normal wear and tear (the gradual, minor deterioration that comes from ordinary use). A small scuff on a baseboard is typically wear and tear. A large hole in drywall is not. But if that hole existed before you moved in and you did not document it, proving that becomes your problem.
Understanding what landlords can and cannot deduct is essential context before you begin your walkthrough. State laws vary considerably, but a written, signed move-in inspection form is one of the strongest protections available to renters in almost every jurisdiction.
If you are navigating your first rental, our guide to renting your first apartment covers the lease, deposit, and application process from the start.
Your Security Deposit Is at Stake
Security deposit disputes are one of the most common legal conflicts between tenants and landlords in the US. Most states allow landlords to deduct for damage beyond normal wear and tear, but the burden often falls on whoever has better documentation. A thorough move-in inspection form - submitted in writing to your landlord - is your primary legal safeguard. Consult your state's tenant rights laws or a local tenant advocacy organization if you have questions about your specific protections.
How to Use This Checklist
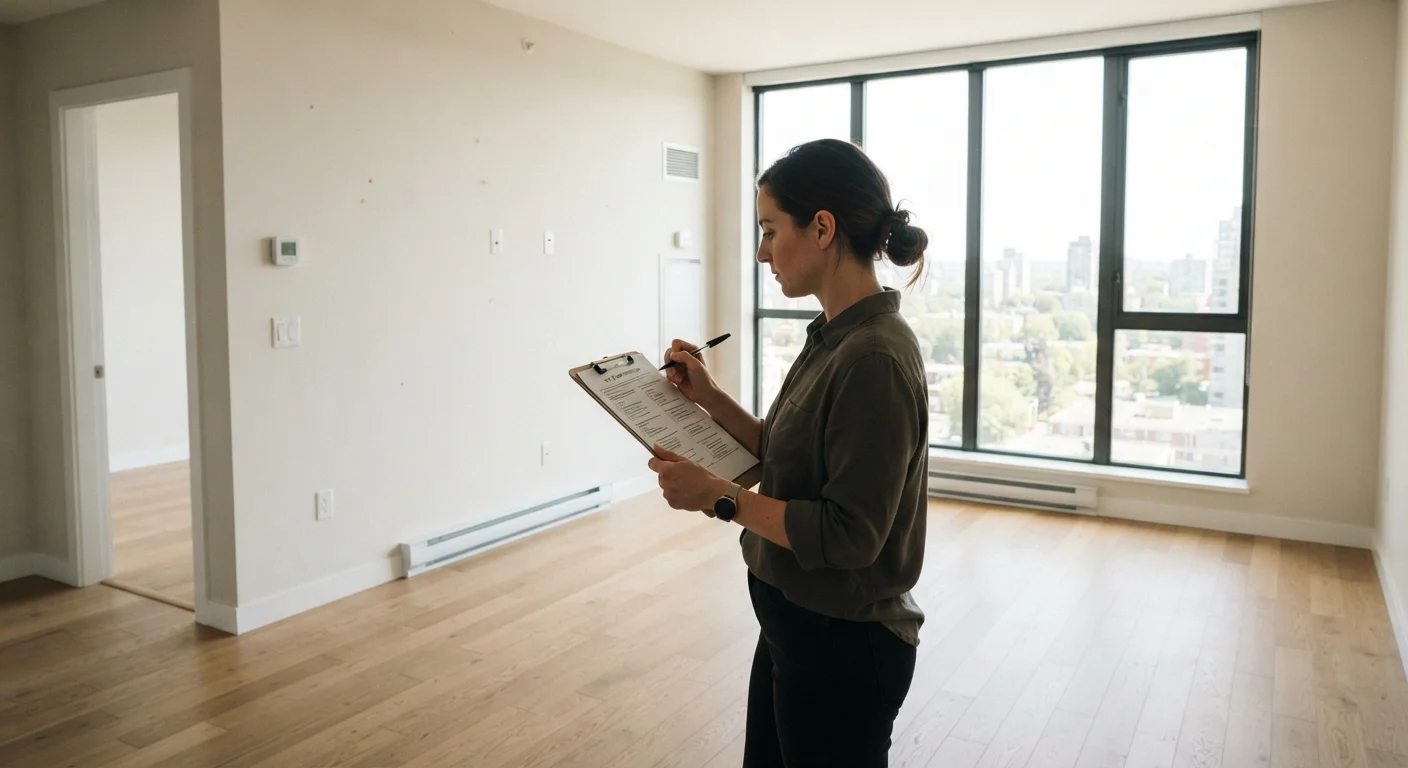
Work through each room systematically before any of your belongings are moved in. Empty rooms are easier to inspect and photographs are unambiguous about what was already there. Plan for 45 to 90 minutes depending on unit size - do not rush this process.
For each defect you find:
- Photograph it with your phone in sufficient lighting, including a wide shot for context and a close-up for detail.
- Write a brief description on your inspection form (room, location, nature of defect).
- Note whether it is cosmetic (scuff, paint chip) or functional (leaking faucet, broken lock).
When you are finished, email the completed form and photo attachments directly to your landlord. Email creates an automatic timestamp and delivery record. Request a written acknowledgment of receipt.
Smartphone with Camera
Capture timestamped photos and video of every pre-existing defect throughout the unit.
Printed or Digital Move-In Inspection Form
Provides a structured, room-by-room record that both tenant and landlord can sign.
Outlet Tester
Quickly verifies that electrical outlets are wired correctly and functional without needing tools.
Flashlight or Phone Torch
Illuminates dark closets, under-sink cabinets, and corners where damage can hide.
Tape Measure
Useful for documenting room dimensions and confirming appliance or furniture clearances.
This checklist is provided for general informational purposes. Tenant rights, required disclosures, and deposit rules vary by state and locality. Consult your local tenant rights organization or a qualified attorney for guidance specific to your situation.
The Room-by-Room Checklist
Use the grouped checklist below to guide your walkthrough. Items marked must are non-negotiable for protecting your deposit. Items marked should are strongly recommended. Nice-to-have items add thoroughness but are lower priority if time is limited.
Before You Step Inside
Living Room & Common Areas
Kitchen
Bathroom(s)
Bedrooms
Utilities, Safety & Building Systems
Final Documentation Steps
Do Not Skip the Written Record
Verbal agreements about pre-existing damage carry little legal weight if a dispute goes to small claims court. Without a signed, dated inspection form and photographic evidence, you may be held financially responsible for damage you did not cause. Many security deposit disputes are decided on the quality of documentation alone.
Signing the Lease Does Not Equal Move-In Acceptance
Some leases include a clause stating the tenant accepts the unit "as-is" upon signing. In most states, this does not override your right to document conditions at move-in. Complete this walkthrough before or immediately on your first day of legal possession - never after you have brought in furniture and belongings.