
Why an Audit Comes Before Any Rearranging
Most organization projects stall or backfire because they skip straight to solutions - buying bins, swapping furniture, clearing counters - without first asking why a space isn't working. A room-by-room audit flips that sequence. It surfaces the real reasons a room feels chaotic before you spend time or money rearranging it.
This checklist gives you a repeatable set of questions to run through every room. You don't need special tools or a professional organizer. You need about 30-60 minutes, a notepad or phone for notes, and a willingness to be honest about how each space is actually used versus how you intended it to be used.
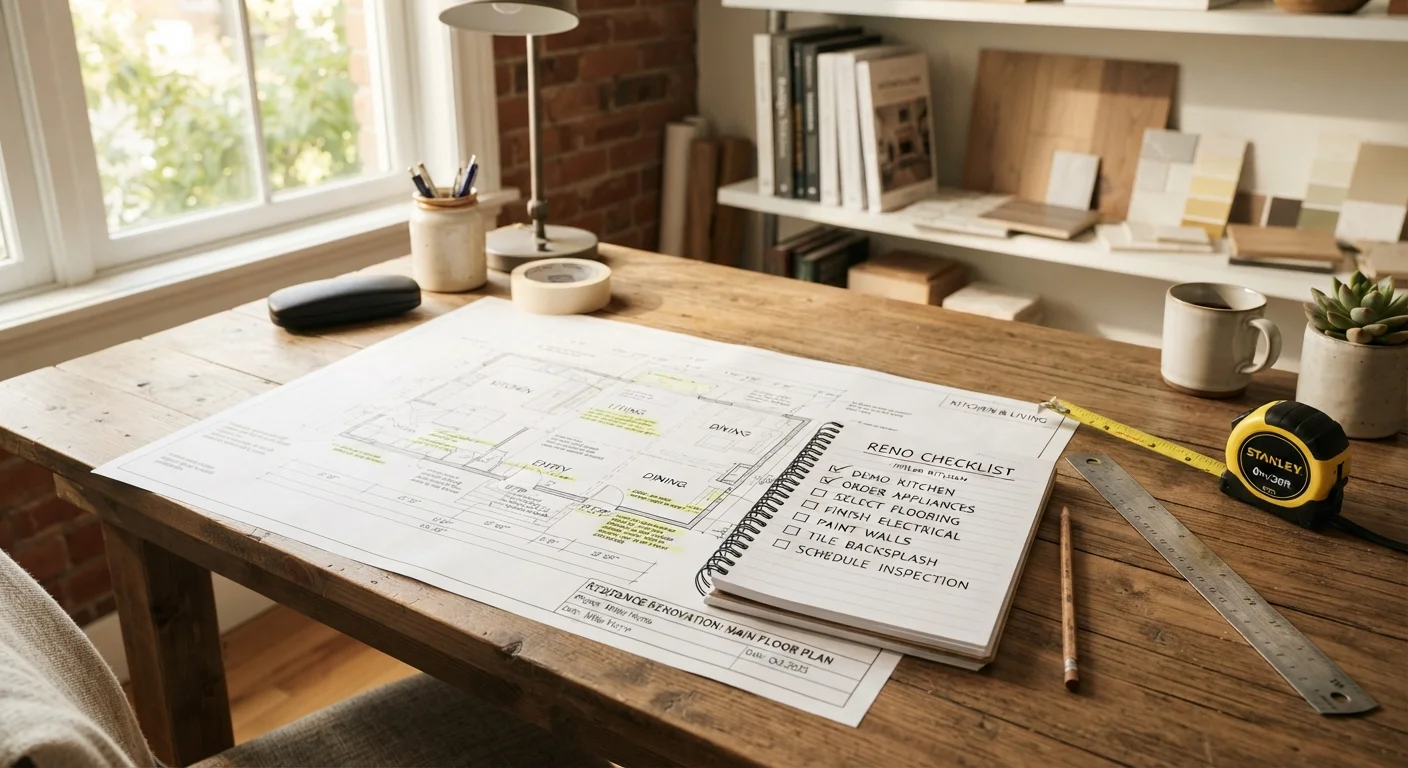
If you're considering changes that go beyond organization into renovation territory, our renovation planning checklist covers the structural and permitting questions you'll want to answer first. This audit is intentionally narrower: it focuses on layout, habits, and storage before anything gets torn apart.
Notepad or notes app
Record observations, friction points, and room summaries during the audit.
Tape measure
Measure shelf heights, drawer depths, and wall spaces before purchasing any organizational products.
Smartphone camera
Photograph each room before making changes to create a clear before-state reference.
Sticky notes or colored tape
Tag problem zones or items that need relocation during the walkthrough.
How to Use This Checklist Room by Room
Work through each room individually rather than trying to assess the whole home at once. Stand in the doorway of each room and observe it as a stranger would, then walk through the questions in the checklist below. Capture your answers - even brief notes - rather than keeping them in your head.
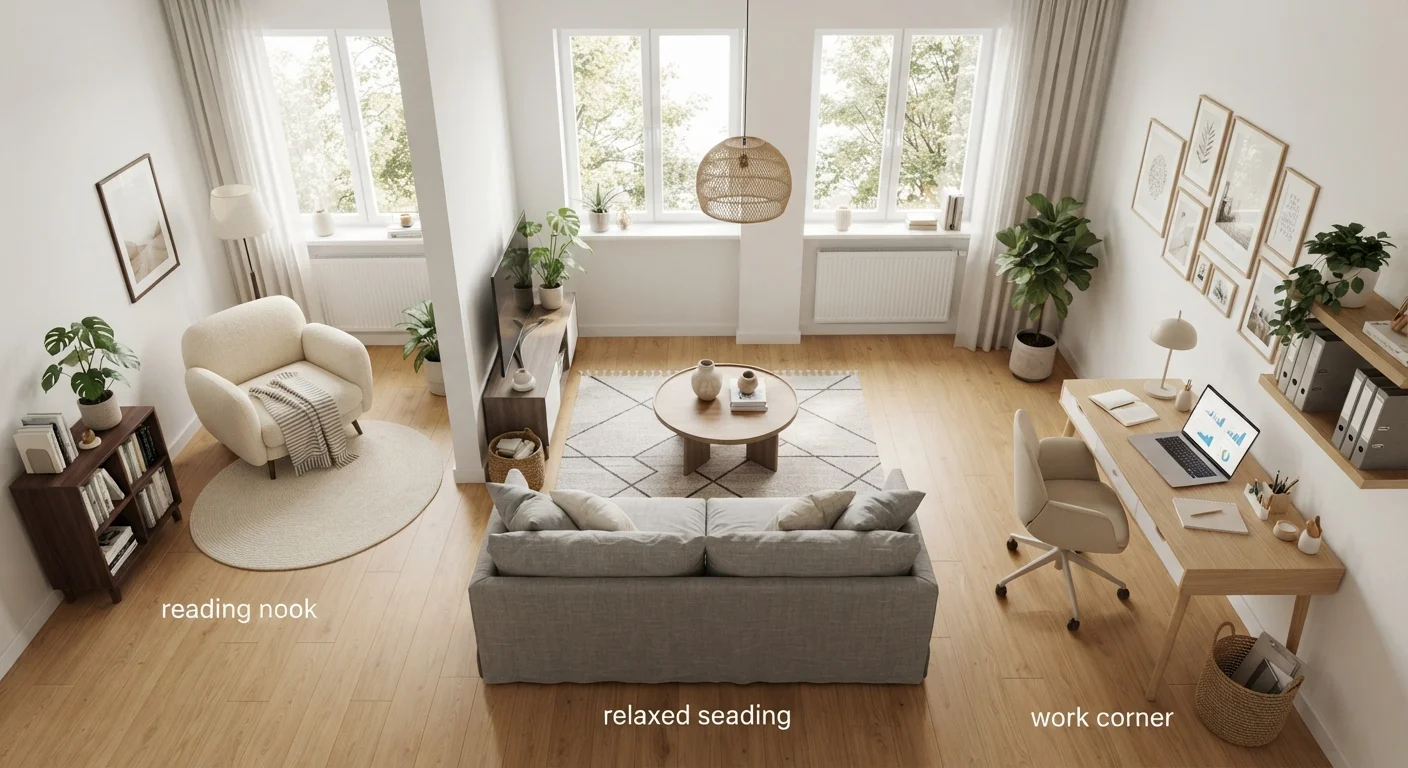
Pay special attention to friction points: the spots where things pile up, doors that won't fully open, or drawers that never get used. These are your most actionable clues. For a deeper framework on organizing around how you actually live rather than room labels, see the zone method - it pairs well with the audit you're doing here.
Assess Current Function
Evaluate Storage and Access
Identify What Doesn't Belong
Check Lighting and Visibility
Room-Specific Questions
Document and Prioritize
Don't Reorganize Before You Purge
Rearranging or adding storage before removing what you don't need almost always makes the problem worse - it just gives clutter a neater-looking home. Before moving a single bin or shelf, complete the 'Identify What Doesn't Belong' section of this checklist and remove those items first. Organization products should solve a specific, identified gap, not serve as the first step.
After the Audit: Turning Observations Into Priorities
Once you've gone room by room, review your notes and look for patterns. Rooms with multiple friction points - or where the same type of clutter keeps reappearing - deserve first priority. Rooms that feel mostly functional but look messy are usually a purge problem, not a storage problem.
Resist the urge to fix everything at once. A focused audit gives you a ranked list; work down it steadily. If your audit reveals that a room needs structural changes - new outlets, built-ins, or a layout shift - that's a separate project from organization. The Home Improvement hub covers those decisions in depth.
Keep your audit notes. They form a before-state you can compare against after any changes, which makes it far easier to evaluate whether a reorganization actually worked - or just moved the chaos around.
Storage Problems Are Often Quantity Problems
In the majority of homes, the root cause of disorganization is owning more than the space can reasonably hold - not a lack of clever storage systems. If your audit reveals that every storage area is packed to capacity, the most effective next step is reducing what you own in that category, not adding more containers. No organizational system sustains itself when a space is chronically overfull.