Why Security Feels Slow - and What Actually Controls the Pace
Airport security lines aren't slow because the process is inherently inefficient - they slow down because of what individual travelers do (or don't do) before they arrive. The checkpoint itself moves at a fairly consistent pace. What creates the bottlenecks is a predictable set of avoidable mistakes: unprepared travelers discovering their liquids are over the limit, laptops buried under clothing, belts and boots that require extra scanning, and boarding passes that won't load on a cracked phone screen.
Experienced travelers know this, which is why their pre-airport routine looks very different from a first-timer's. Much of it happens the night before - not at the checkpoint. Our habits of seasoned travelers article shows how this principle extends across the entire trip.
Pack Your Bag With Security in Mind
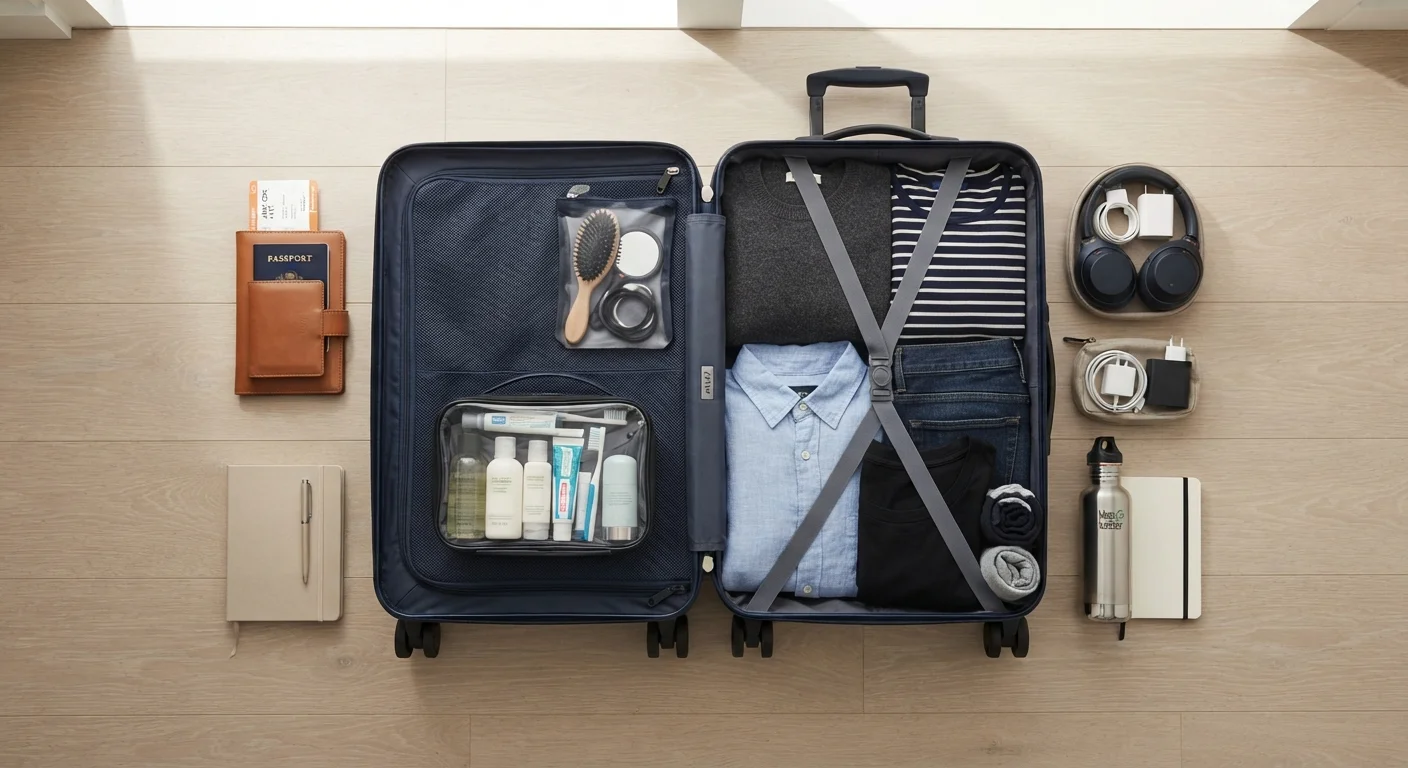
Place laptops and liquids bags near the top or in an outer pocket so they're easy to pull out quickly. Keeping your bag organized this way takes seconds at home but saves considerable time at the checkpoint. Consider using a dedicated clear pouch for all cables and electronics to keep X-ray images clean and easy to read.
Understanding what the TSA is actually looking for also helps. Officers are screening for threats - weapons, explosive materials, and prohibited items. Anything that creates an ambiguous image on the X-ray, or that triggers a body scanner alert, requires additional attention. The more straightforward your bag and clothing appear to the equipment, the faster you move through.
TSA PreCheck Enrollment
Grants access to expedited screening lanes where you keep shoes, belt, and light jacket on and leave laptops and liquids in your bag.
Global Entry (for international travelers)
Includes TSA PreCheck and speeds up US Customs re-entry after international trips through automated kiosks.
Clear Quart-Sized Zip-Top Bag
Required container for carry-on liquids under the 3-1-1 rule - one bag per person, items must each be 3.4 oz or less.
Mobile Boarding Pass or Printed Boarding Pass
Required at the ID checkpoint; having it ready before you reach the agent prevents fumbling and holds up the line.
Government-Issued Photo ID or Passport
Required for all domestic and international flights; REAL ID-compliant ID is required for domestic travel.
Step-by-Step: How to Prepare Before You Reach the Checkpoint
What you will need
Enroll in TSA PreCheck or Global Entry
TSA PreCheck is a US government program that allows approved travelers to use dedicated expedited screening lanes at most major US airports. In these lanes, you keep your shoes, belt, and light jacket on; laptops stay in your bag; and the 3-1-1 liquids rule still applies but your bag doesn't need to be removed separately. Enrollment requires an application, background check, and in-person appointment. The membership is valid for five years.
Global Entry, administered by US Customs and Border Protection, includes TSA PreCheck and adds expedited re-entry through automated kiosks when returning from international travel. If you travel internationally even once a year, Global Entry is worth considering for the dual benefit.
Organize Your Liquids the Night Before
The TSA's 3-1-1 rule limits carry-on liquids to containers of 3.4 ounces (100ml) or less, all fitting in one clear quart-sized zip-top bag, one bag per passenger. Pack your liquids bag the night before so you're not scrambling at the airport. Set it in an easy-access pocket of your carry-on so you can pull it out without unpacking everything.
Common mistakes: forgetting that gels, creams, pastes, and aerosols also count as liquids; packing a full-size toothpaste or sunscreen that gets confiscated; or burying the liquids bag deep in a stuffed backpack. See our carry-on packing guide for a full breakdown of what counts and how to plan around it.
Choose Your Outfit With Screening in Mind
Heavy metal belt buckles, underwire, bulky jewelry, and boots with thick soles or metal shanks all trigger additional screening. Wear slip-on shoes or easy-to-remove footwear unless you have TSA PreCheck. Opt for a simple belt or none at all. Leave elaborate jewelry at home or pack it in your carry-on rather than wearing it through the checkpoint.
Avoid wearing clothing with hidden pockets stuffed with items - the scanner flags unusual shapes regardless of what they are.
Have Your ID and Boarding Pass Ready Before You Queue
Pull out your boarding pass and ID before you join the security line - not when you reach the agent. If you're using a mobile boarding pass, open the app, locate your pass, and maximize screen brightness. If your phone tends to lock quickly, adjust the auto-lock setting for the airport visit.
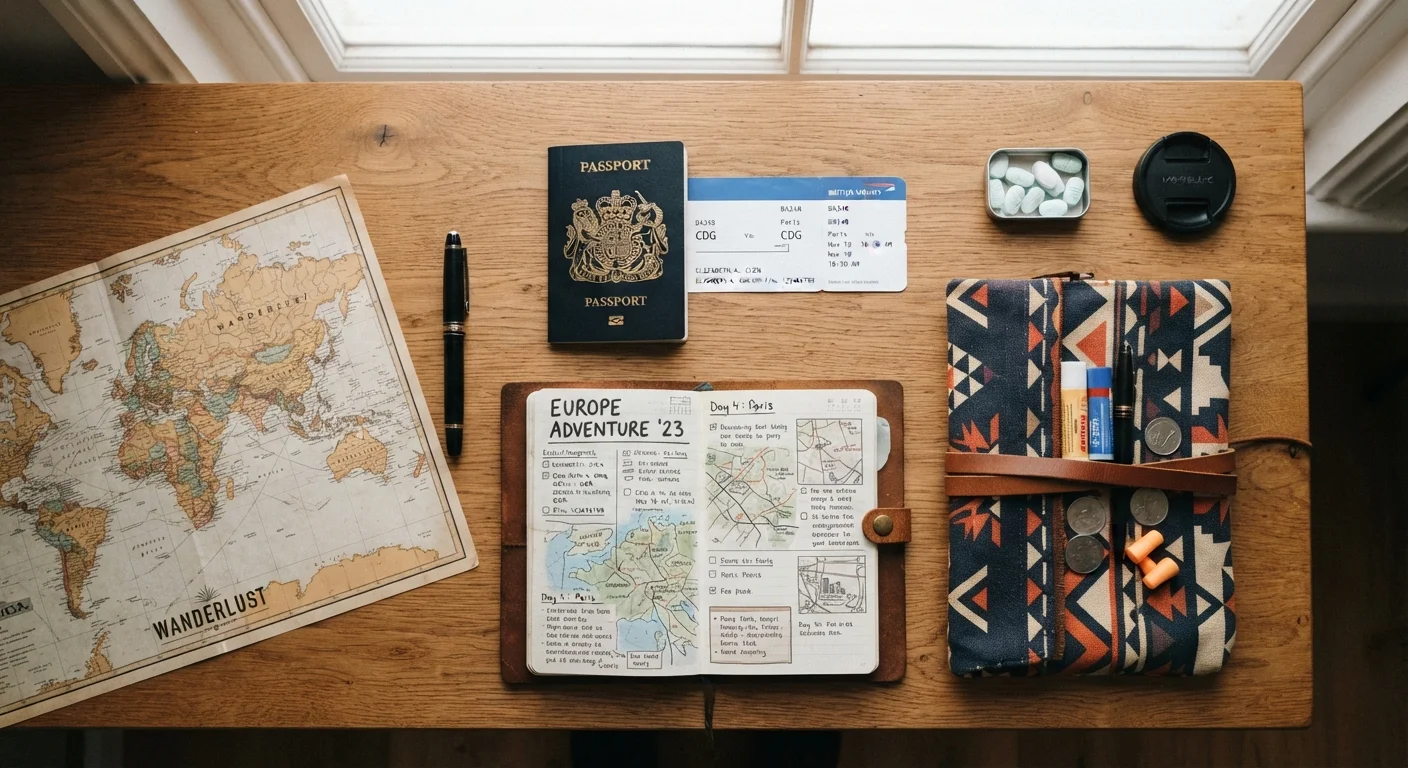
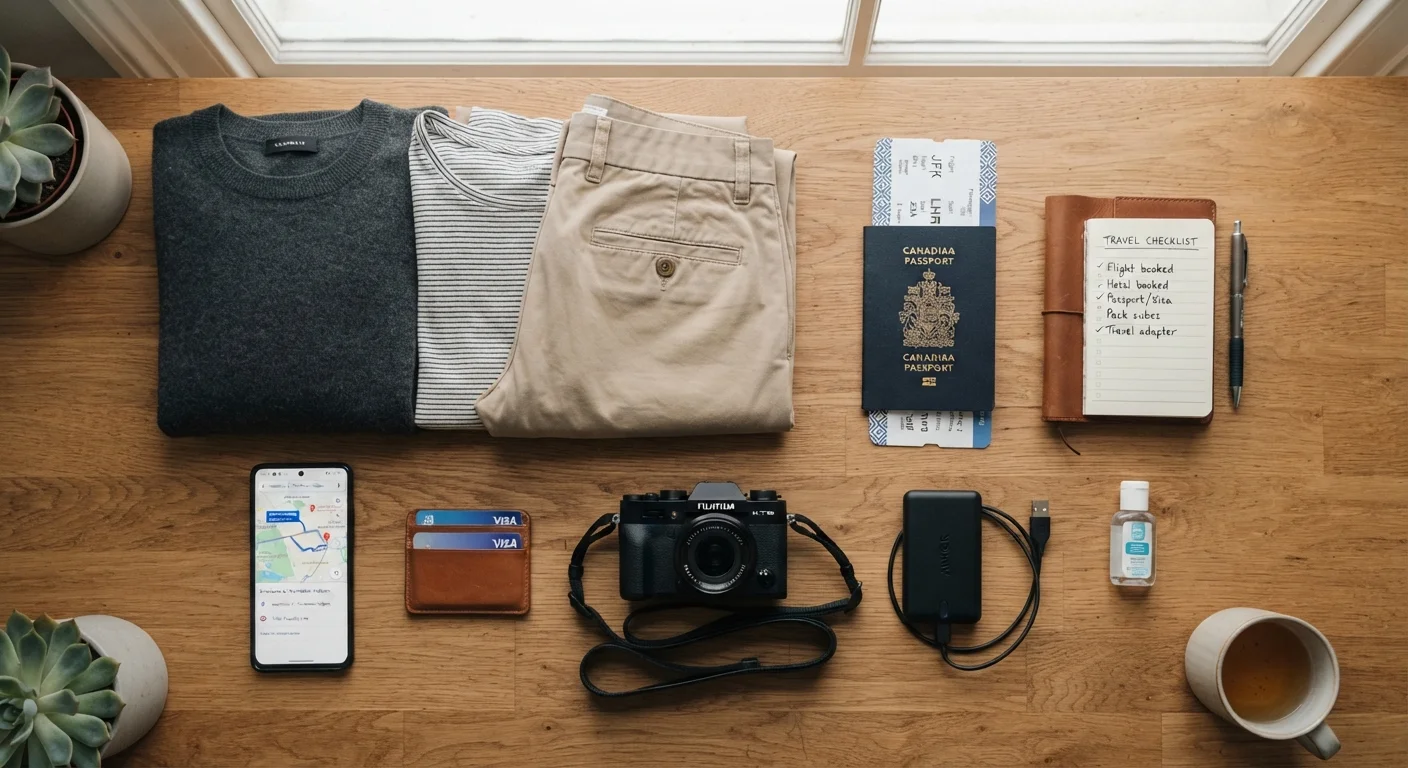
This single habit prevents one of the most common line delays: passengers fishing through bags or unlocking phones while holding everyone up. As part of your broader travel prep, our pre-trip planning checklist covers documents and logistics well before departure day.
Remove Electronics and Set Up Your Bin Efficiently
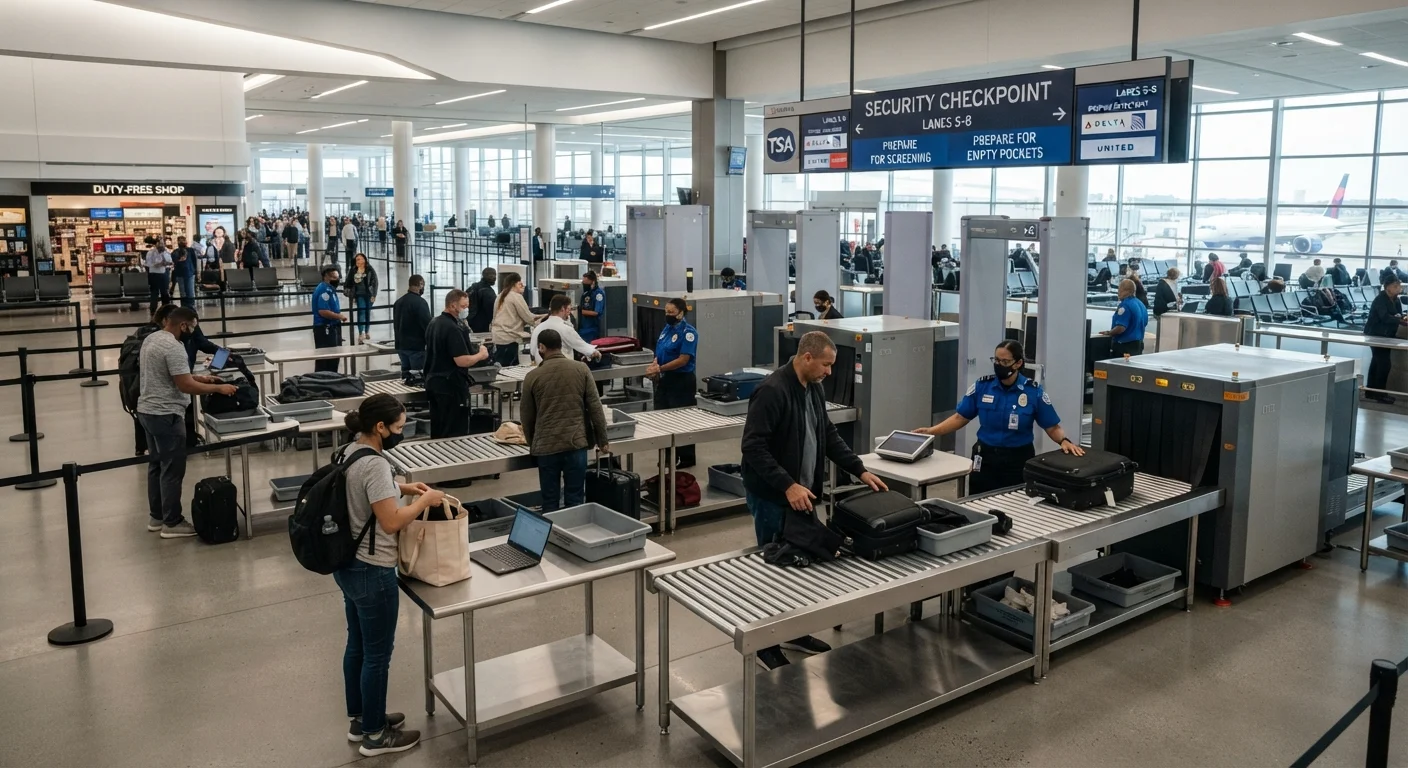
Unless you have TSA PreCheck, laptops must come out of your bag and go in a separate bin. Tablets larger than a standard paperback may also need to be removed - check current TSA guidance. Place electronics flat in a bin rather than stacked, which makes X-ray imaging cleaner and reduces the chance of a secondary bag check.
Use one bin for your shoes and jacket, a second for your laptop and tablet, and send your carry-on bag through on the belt. Avoid overfilling bins - items that spill over or fall off the belt create delays for everyone.
Collect Your Belongings and Move Quickly to the Reassembly Area
Once through the scanner, pick up your bins and move immediately to the designated reassembly benches - not at the end of the belt. Stopping at the belt to put on shoes and repack while items are still moving creates a bottleneck. Get clear of the conveyor first, then dress and repack at a bench.
Do a quick mental checklist: phone, wallet, ID, boarding pass, shoes, belt, bag. These are the items most frequently left behind at checkpoints.
Verify TSA Rules Before Every Trip
TSA policies on liquids, electronics, and prohibited items can change. Always check the official TSA website (tsa.gov) or the TSA app before you travel-especially if you're carrying medical devices, specialty food items, or unfamiliar gear. What was allowed on your last trip may have different screening requirements today.
Don't Rely on Checkpoint Staff to Remind You
TSA officers are not required to walk you through the screening process. If you pack prohibited items or forget to remove liquids from your bag, your belongings will be flagged for a manual search-adding significant time for you and everyone behind you. Preparation is entirely your responsibility before you reach the belt.
Security preparation fits naturally into a broader pre-departure checklist. If you're also thinking about documents, health requirements, and logistics, our pre-departure checklist walks through all the key categories to review in the days before you leave.