Why Composting Is Worth the Effort
Composting converts organic waste that would otherwise go to a landfill into a soil amendment that can measurably improve your garden. It builds soil structure, improves drainage in clay soils, helps sandy soils retain moisture, and introduces beneficial microorganisms. For kitchen-heavy households, it's also a meaningful way to reduce waste - the average US kitchen generates a significant volume of compostable scraps weekly.
You don't need a large yard or expensive equipment to start. A basic pile in a corner or a compact tumbler on a patio is enough. Before getting started, gather your tools and materials.
Compost bin or tumbler
Contains the compost pile, retains heat and moisture, and keeps pests out.
Pitchfork or compost aerator
Used to turn and mix the pile to introduce oxygen and speed decomposition.
Kitchen scrap collection container
A small countertop bin for collecting food scraps before transferring them to the outdoor pile.
Garden hose or watering can
Maintains the correct moisture level in the compost pile.
What you will need
Step-by-Step: Building and Managing Your Compost Pile
Follow the steps below to set up a compost system that's active, relatively odor-free, and produces usable compost within a few months. The process is forgiving - small adjustments to moisture, ratios, or turning frequency make a real difference.
Choose your composting method and location
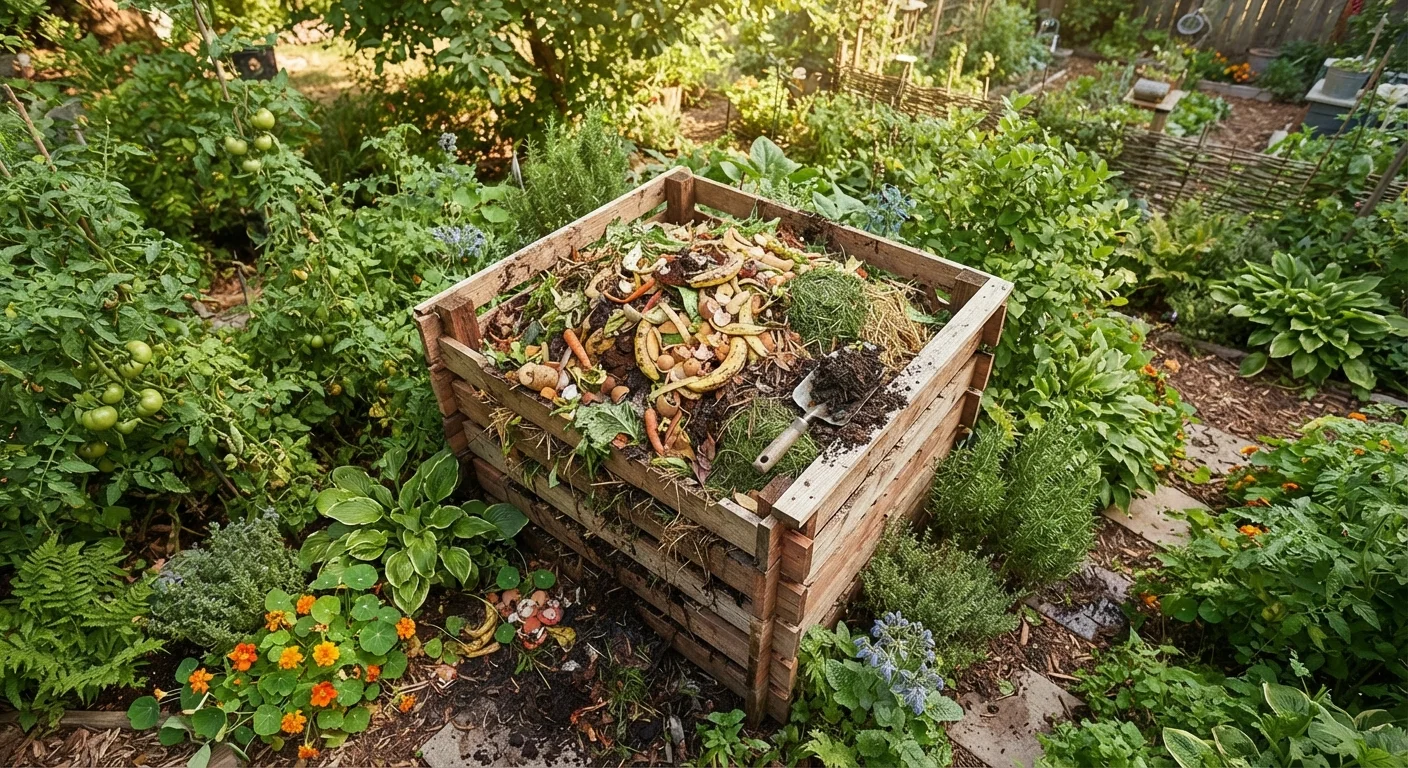
Select a spot that's convenient but not directly against a fence or wall - a few feet of clearance helps airflow. You can use a purchased plastic bin, a simple DIY wooden frame, or just a designated open pile. Tumblers work well for smaller yards or patios. Aim for partial shade; full sun dries out the pile too quickly, while deep shade slows microbial activity.
Start with a base layer of 'browns'
Carbon-rich materials - called browns - form the structural foundation of your compost. Lay 4-6 inches of shredded cardboard, dried leaves, straw, or woody plant stems as your first layer. Browns balance the wetter, faster-decomposing greens you'll add on top and prevent the pile from compacting into a soggy, smelly mat.
Add your 'greens' - kitchen scraps and fresh yard waste
Greens are nitrogen-rich materials that fuel microbial activity. Layer vegetable peels, fruit scraps, coffee grounds, tea bags (remove staples), grass clippings, and fresh plant trimmings on top of your browns. A healthy ratio is roughly 3 parts browns to 1 part greens by volume. This balance keeps the pile active without turning anaerobic (oxygen-deprived) and smelly.
Good green additions include:
- Fruit and vegetable scraps
- Coffee grounds and filters
- Eggshells (neutral, adds calcium)
- Fresh grass clippings
- Plant-based kitchen prep waste
Keep the pile moist but not waterlogged
Your compost pile should feel like a wrung-out sponge - damp throughout but not dripping. Dry piles decompose very slowly because microbes need moisture to thrive. After adding materials, water lightly if needed. During dry spells, check moisture weekly. If the pile becomes waterlogged after heavy rain, turn it and add dry browns to rebalance.
Turn the pile regularly to speed decomposition
Use a pitchfork or compost aerator to turn the pile every 1-2 weeks. Turning introduces oxygen, which feeds aerobic bacteria - the fast, odor-free decomposers. Move material from the outer edges toward the center where heat builds up. A well-managed pile can reach internal temperatures of 130-160°F, which is hot enough to kill weed seeds and pathogens.
Harvest and apply finished compost
Finished compost looks dark brown, crumbles easily, and smells earthy - not like rotting food. With regular turning, expect usable compost in 2-3 months in warm weather; cold climates or less frequent turning may take 4-6 months. Unfinished material can be pushed to one side while you harvest the ready compost from the bottom. Apply 1-3 inches as a top dressing on garden beds, or mix it into planting holes. For more on putting healthy soil to work, see our guide on starting a garden from scratch.
What Not to Add to Your Compost
Meat, fish, bones, dairy, oily or greasy foods, pet feces, diseased plant material, and treated wood products should not go into a basic home compost pile. These items attract pests, introduce pathogens, or contain chemicals that harm soil biology. Stick to plant-based kitchen scraps and untreated yard waste for reliable, safe results.
Troubleshooting Common Composting Problems
Even well-managed piles run into occasional issues. Here's how to diagnose and fix the most common ones:
- Pile smells bad
- Usually a sign of too many greens, too much moisture, or poor airflow. Add browns, turn the pile, and reduce added food scraps temporarily.
- Pile isn't breaking down
- The pile may be too dry, too small, or lacking nitrogen. Water it lightly, add fresh greens, and make sure the pile is at least 3 feet in diameter to retain enough heat.
- Pests are getting in
- Avoid adding cooked foods or meat. Use a bin with a secure lid or hardware cloth bottom to deter rodents. Burying fresh scraps under a layer of browns also reduces attraction.
Reduce Kitchen Waste Before It Reaches the Pile
Composting is most effective as part of a broader effort to reduce food waste at its source. Thoughtful kitchen organization and meal planning can minimize how much ends up in the bin in the first place. Our guide to setting up a home kitchen covers practical approaches to reducing excess.
Consistent management is the biggest factor in compost quality. Once the routine clicks, it takes only a few minutes a week to maintain a productive pile.