Why Knife Skills Come First
Before you learn a single recipe, before you master heat control or seasoning, your relationship with a knife shapes everything that happens in the kitchen. Nearly every savory meal begins with cutting something - an onion, a clove of garlic, a chicken breast. How efficiently and safely you do that determines your pace, your confidence, and your results.
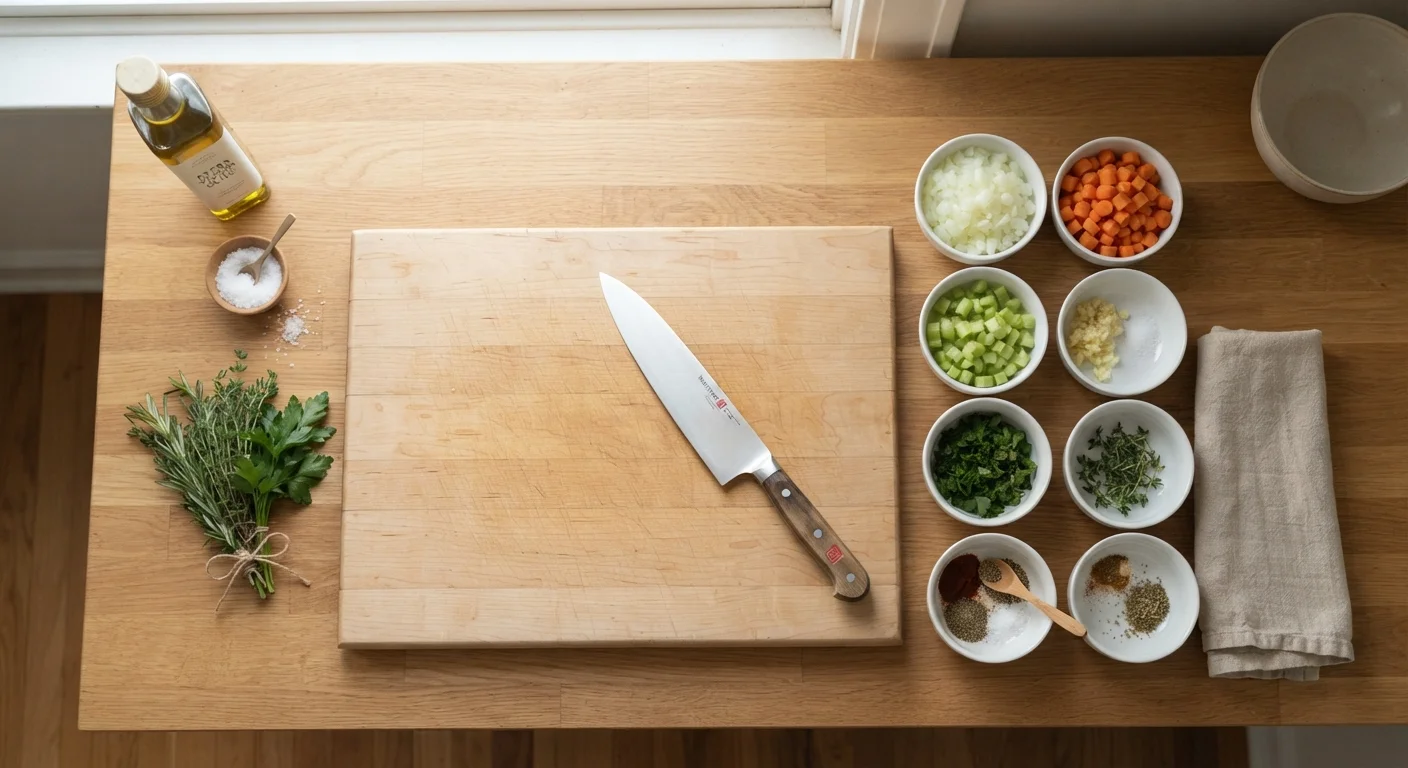
Poor technique slows you down, creates uneven pieces that cook unevenly, and - most importantly - puts you at real risk of injury. Learning the right habits from the start means you never have to unlearn the wrong ones. This guide pairs well with mise en place preparation, which teaches you to have everything prepped and organized before cooking begins. Together, they form the foundation of a calm, competent kitchen.
Pinch grip
A knife-holding technique where the thumb and index finger pinch the blade itself just above the handle, providing more control than gripping the handle alone.
Claw grip
A hand position for the guiding hand where fingertips curl inward and knuckles face the blade, protecting fingers while guiding the food being cut.
Bolster
The thick metal collar or collar-like band where the blade meets the handle on a forged knife; it adds balance and protects the hand.
Honing
The process of realigning a knife's edge using a steel rod - it doesn't remove metal but keeps a sharp edge performing at its best between sharpenings.
Dice
A knife cut that produces uniform cube-shaped pieces of food, ensuring even cooking throughout a dish.
Julienne
A knife cut that produces thin, uniform matchstick-shaped strips, commonly used in stir-fries and salads.
The Grip and the Guiding Hand
Two hand positions define safe, effective cutting: the pinch grip on the knife and the claw grip on the food.
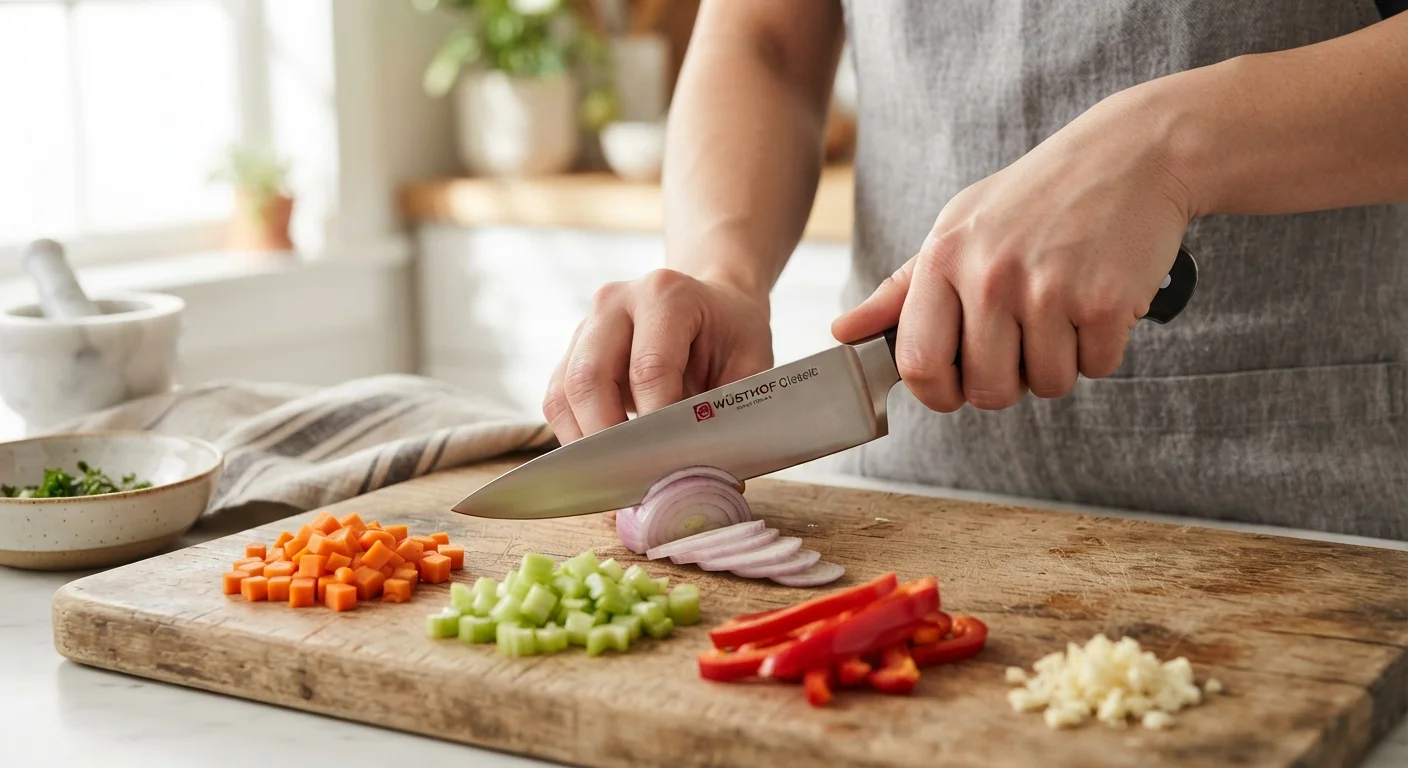
For the pinch grip, don't wrap all four fingers around the handle. Instead, press your thumb against one side of the blade near the bolster (the thick junction between blade and handle), and curl your index finger around the opposite side. Your remaining three fingers hold the handle. This drops the knife's pivot point into the blade itself, giving you far more steering precision with less effort.
Your other hand - the guiding hand - controls the food. Curl your fingertips inward so your knuckles protrude forward like a claw. The flat side of the blade rests lightly against your knuckles as you cut, keeping fingertips entirely protected. Slide the claw backward with each stroke to advance through the ingredient. This one habit eliminates the most common source of home-cook knife injuries.
Practice on an onion first
Onions are forgiving practice subjects - they have a flat base to stabilize on, defined layers that make slicing and dicing easy to see, and they're inexpensive. Work through an entire onion using the pinch grip and claw grip before moving on to more irregular ingredients. Repetition on a familiar shape builds muscle memory faster than switching between different vegetables.
Essential Cuts to Learn
You don't need to master every classical knife cut, but a handful appear in almost every recipe you'll ever cook.
- Slice: A single smooth stroke through an ingredient - used for onions, tomatoes, meat. Let the blade do the work; don't press straight down.
- Dice (small, medium, large): Uniform cube-shaped cuts. Start by squaring off a rounded vegetable, then cut planks, then strips, then cubes. Uniform pieces cook evenly, which matters more than the size itself.
- Mince: Very fine, irregular cuts for garlic, ginger, shallots, or herbs. Rock the blade tip on the board while moving the heel side up and down across the pile.
- Chiffonade: Stack leafy herbs or greens, roll tightly, and slice crosswise into thin ribbons - a clean way to shred basil or mint without bruising.
- Julienne: Thin matchstick cuts, used in stir-fries and salads. Slice planks first, then stack and cut into uniform strips.
Once you're comfortable with these, reading a recipe becomes much easier - you'll immediately recognize what a technique requires rather than pausing to decode it mid-cook.
Knife Safety and Board Basics
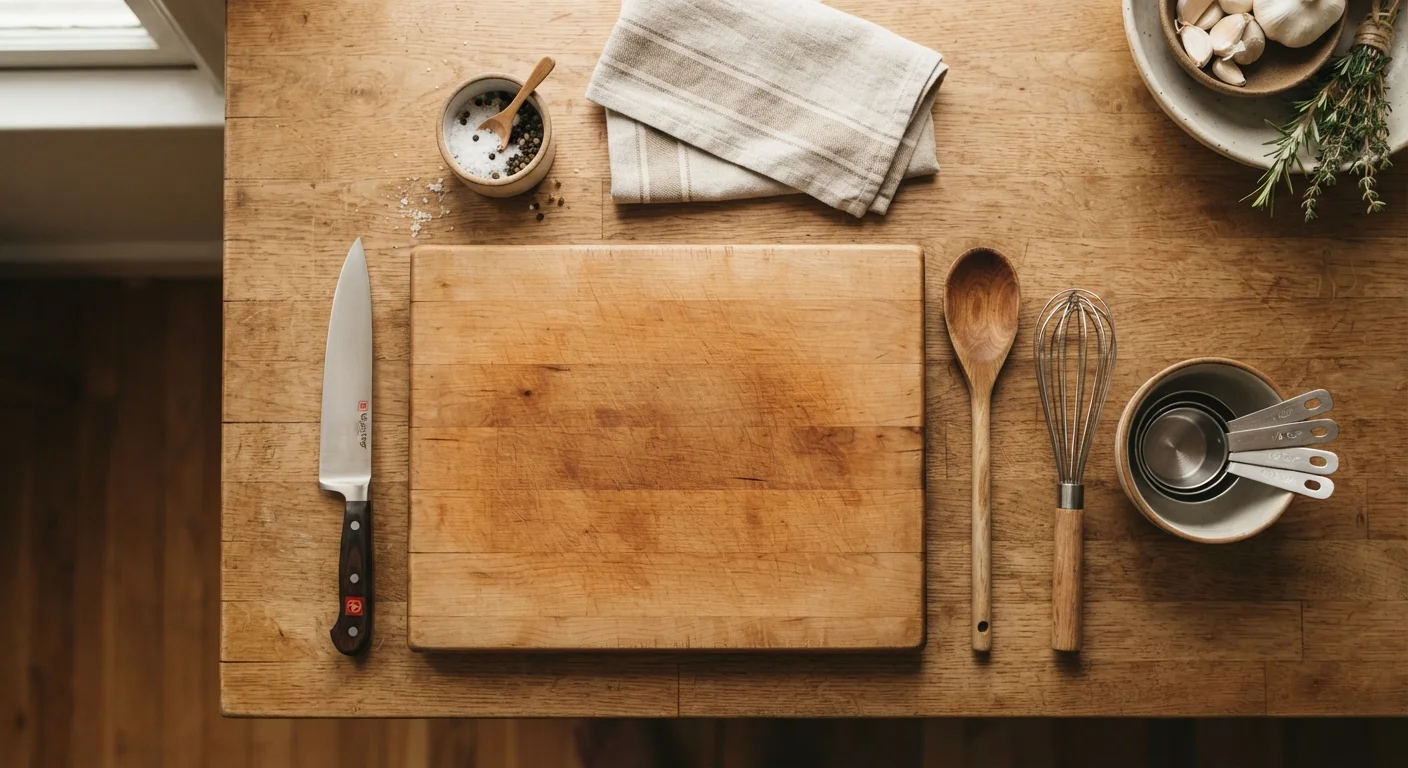
A safe cutting station starts before the knife touches food. Place a damp paper towel or kitchen towel under your cutting board - this stops it from sliding, which is one of the most common causes of accidents.
Choose a board large enough that food doesn't overhang the edge. Wood and plastic boards are both appropriate for most home kitchens; avoid glass or ceramic surfaces, which damage edges quickly and create unnecessary noise and vibration.
Never catch a falling knife
If a knife slips off a counter or cutting board, step back and let it fall. Attempting to catch it is the single most reliable way to cut your hand badly. A dropped knife almost always lands blade-down - your reaction time isn't fast enough to safely intercept it. Retrieve it calmly once it has come to rest.
When carrying a knife, always keep the blade pointed down and slightly away from your body. Never leave a knife submerged in a sink of soapy water - the hidden blade is a hazard to anyone reaching in. Store knives on a magnetic strip, in a knife block, or in blade guards, not loose in a drawer where edges and hands both suffer.
A well-equipped cutting station pairs naturally with the core kitchen tools that make everyday cooking easier.
Keeping Your Knife Sharp
A dull knife is more dangerous than a sharp one. Because a dull edge doesn't bite into food cleanly, you compensate with extra pressure - and when the knife slips, it does so with force. Sharpness is a safety feature, not just a convenience.
Two maintenance tools matter here: a honing steel and a sharpener or whetstone. A honing steel (or honing rod) doesn't remove metal - it realigns the microscopic edge that bends slightly with regular use. Run the blade down the rod at a consistent 15-20 degree angle before each cutting session. This takes about ten seconds and keeps a sharp knife feeling sharp.
Actual sharpening - which removes a small amount of metal to reestablish a dull edge - is needed less frequently, typically a few times per year for a regular home cook. Whetstones give the most control and are a worthwhile skill to develop; pull-through sharpeners are faster but less precise. Either is better than never sharpening at all.
Once your technique and tools are solid, the natural next step is building the broader habit of prepping before you cook - and eventually, tasting as you go to develop genuine cooking intuition.